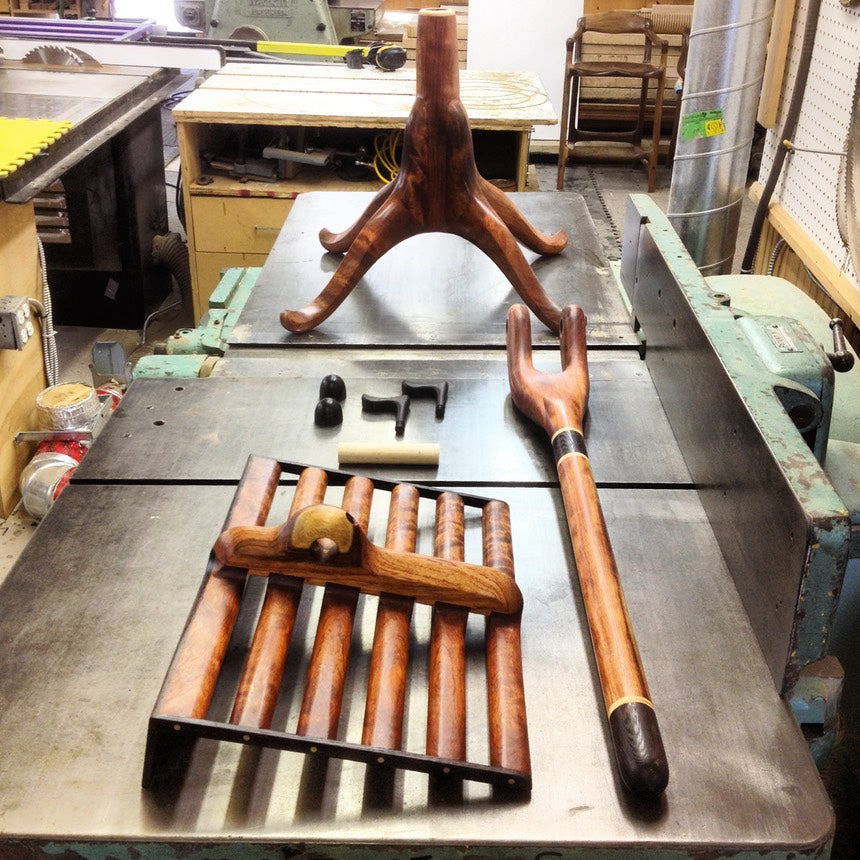
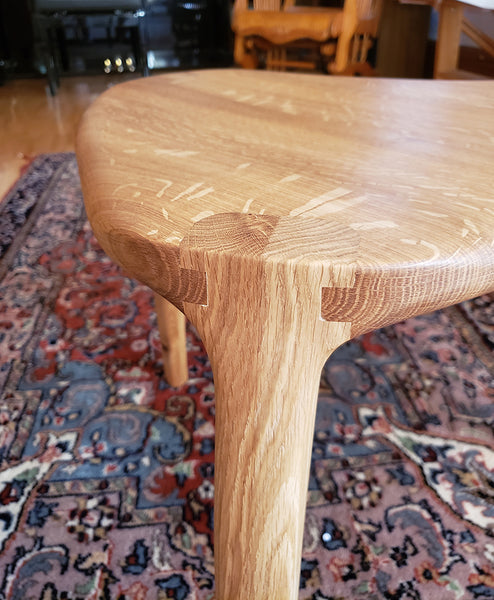
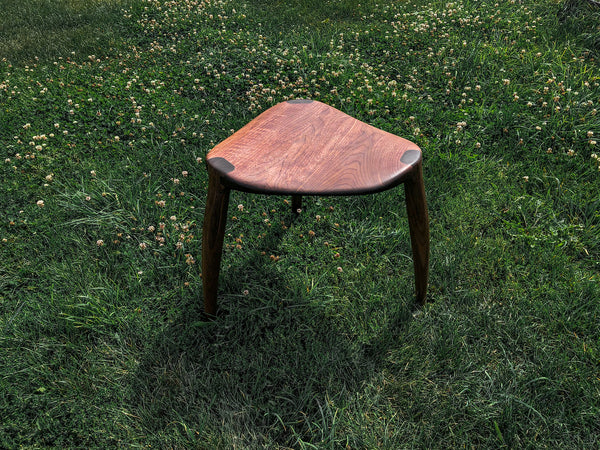
Follow along with pictures of a few music stands being built using Walnut, Curly Maple, Bubinga and Wenge.

Here we start with all the legs and centre sections freshly cut on the band saw.

I saved a beautiful piece of 3’ thick bubinga, it has some beautiful figure hidden under it’s rough exterior. I did not want to waste any of this beautiful timber so I decided to re saw the board on the band saw. This used my entire 20’’ of re saw capability.

There we have it, now for the next step.

I’ve now squared up the billets for centre sections of the base.

About to glue up the centre section, I make a half circle in each piece first then glue together to create a full circle.

These will be the centre posts, I have drilled for the dowel to reinforce the joint.

Before & after Walnut, Curly Maple & Wenge

Adding an accent piece to the top of the centre sections of the base

There you have it highlights added to the top of each centre post, also the stopped dados have been milled

Laying out for the best possible grain flow while also avoiding defects

All four posts have now been milled round just need to be sanded

Joinery cut in the leg sections, the floating tenon be Festool

This is the clamping caul I devised to apply the pressure evenly along the joint

The coves have been added to the centre sections, they flow into each leg section

About to glue up the leg joint with floating tenons

Sanded smooth!

It’s time to glue the leg sections to the centre sections of the base

Wood rocket ships?

One last glue up for the night, can’t wait for the morning!

Clamps removed, glue up success!

Sculpted and almost all sanded

There we have it! (-:

After many many long hours almost all the pieces are fabricated

Voila almost ready for finish

Beautiful Bubinga with Wenge and brass pins for reinforcement

Before & after shaped Wenge threaded adjustment knobs

Finish applied to all the parts, we’re ready for assembly


Also in News
Last Chance To Enter Threaded Inserts & Bolts Giveaway (600pcs)!
We are giving away 600 pieces of Rampa Threaded Inserts and bolts to start off the new year.


Aimee Burns
Author