Great templates! Everything well thought and the detailed instructions are good too. Some procedures are difficult to put into words but the 48 minute video on utube fills in most of the gaps. Highly recommended.
They arrived fine once unfolded they seem complete and easy to read
The digital plan presumably is 1:1 scale and it is recommended to print out the plan 100%. My legal size paper can only print 97%. At this ratio, the leg is 7.75 inches long. At 100%, the leg is only 8 inches long. Something is wrong and I wish I could communicate to the seller but there is no function on their website for direct communication.
You guys asked me to review the guitar stool template I ordered.
I never received it.
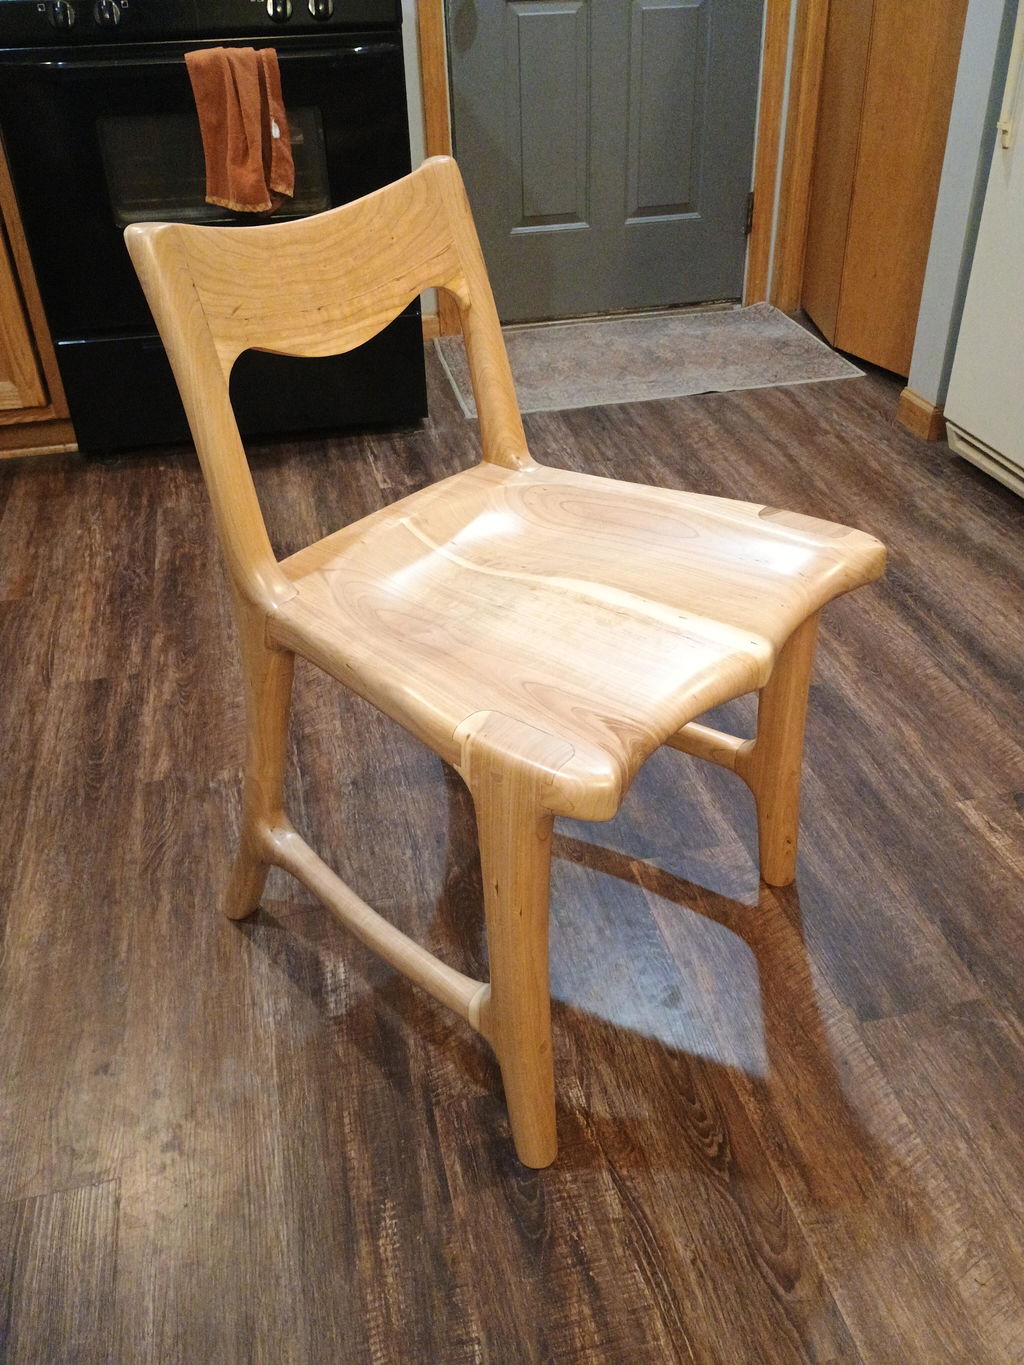
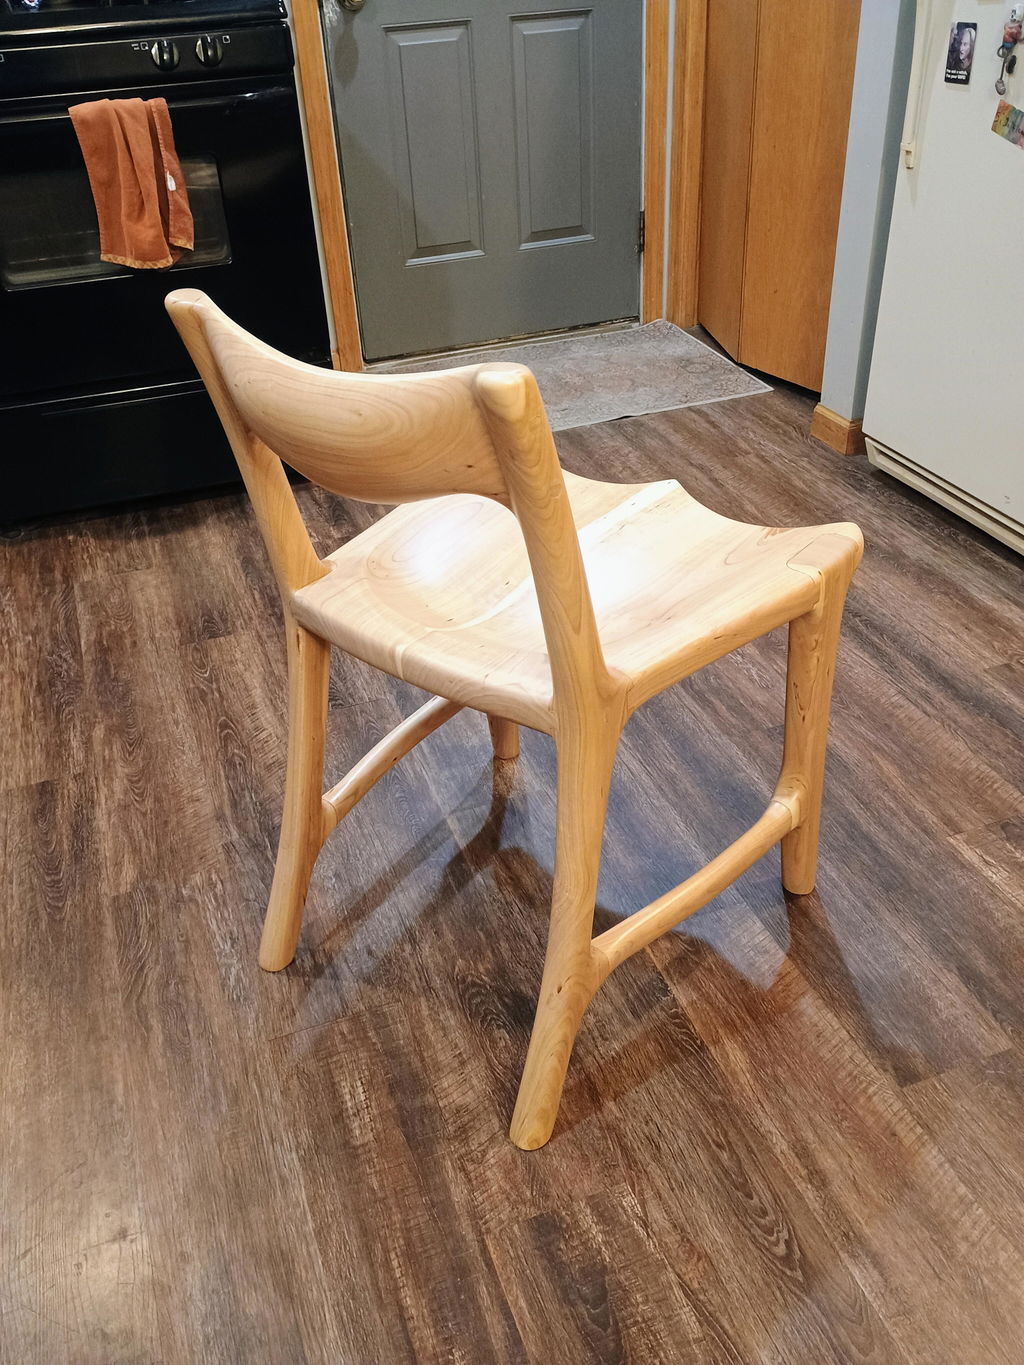
The templates that I purchased are of great value for the cost. Having built a Sam Maloof-inspired rocking chair, I understand the purpose of the templates and the general purpose that they serve. These templates provide all of these requirements. However, please take this criticism as intended, to improve the templates and experience for first-time buyers.
1. Label each template exactly for what part it depicts. There was one template that did not have a label, and it took a few minutes to determine that it was the seat sculpting.
2. A couple of the templates say "expand depending upon actual measurements." For a first-timer, this might be a terrifying proposition. To simplify this, show the template with the exact dimensions based on the chair you've shown. Add the comment to expand or retract based upon actual dimensions.
Overall, an excellent value for the money. I'm building six chairs and a table. I'll let you know how they turn out.
For an experienced wood worker, these templates are great. For the inexperienced, I wish there were more resources offered with the file with explanations of various processes and how to make your joint layout for various thicknesses. Overall a great piece of furniture with good templates.
I have not received the mail ordered template as of yet.
Templates were as advertised… thought there’d be more dimensions… had to print them out to those …
Great products. The templates are fantastic.
This is my way of getting out of my comfort zone of tables and cabinets. Every thing is going well so far. I’m using some Douglas fir left over from my last timber framing project before I use good hard wood. My biggest problem is figuring out what the “arm pad adder is for and where it goes. Multiple viewings of your videos have not clarified their location or function.
It would be helpful if more dimension info would be printed right on template. I have been watching all YouTube videos to get dimensions and router bit sizes.
Loved the product but I have some suggestions. It would be most useful if all the dimensions of the drawings were labeled-some were omitted. Second, printing the digital plans can be difficult and/oe expensive m, depending on what access the purchaser has. An easy solution would be for the digital purchase to also include pdfs of the tiles figure so that a simple home printer could be used. Then it would only require the pieces to be taped together. I suspect this would benefit more people than expected.
The templates paper are perfect. The chair is almost finished. thank you
I only got the plans a few weeks ago. All parts are cut - just fine tuning and fitting at this point. I would suggest that these plans are not for beginners without a detailed video to accompany... I have not been able to find the video.
I will be creating a full build video this spring (-: 2025. Thank you for your support. Please email me with any questions regarding the build process. Please watch this build video to help understamd most of the techniques.
I would have given the templates a higher rating but one important piece of information was missing, and even after contacting Canadian Woodworking, still no information
Hi, sorry if we missed your question. What do you need to know?
These templates were just terrible! Crude at best with hardly any dimensions and no description of parts or drawing of completed stool Maybe worth $5
Hold tight, I have a 2 hour fully detailed build video coming out in a couple weeks! Jan 2025 Sorry for your dissapoitment. Watching my dining chair build video will help with most techniques needed to build the stool.
The wood templates are good but there are no centerline markings. Should there be?
Hi, I leave it up to you to draw the center line of your leg joint, but now that you mention it I can add it to future templates. Thank you for your support